Embarrassingly, given my job title, I’m terrible at starting seeds indoors. I blame it partially on my travel schedule and not being able to give the little seedlings the love and attention they deserve. It could also be because I have not been willing to buy the proper setup to start seeds. Maybe it is because I am not a perfectionist, and some indoor seed starting can be a bit tedious. Or it could be because I’m short on time.
I do pretty well throwing seeds in the ground (direct seeding) once the soil is warm enough. But my direct seeding technique would also benefit from more precision in that I would need to do less thinning and would likely have more productive crops overall as well. I’m looking at you carrots!
I am also a good customer at our local greenhouses and happily (mostly) pay for the cost of transplants, knowing it has saved me a lot of time, effort and failed attempts.
But this year, I wanted to give preseason seed starting my best effort. I tried four ways of starting seeds, first planting them on April 3rd because that’s when I had time.
- Traditional seed-starting soil with a heat mat
- Peat pellets
- Hydroponically (Aerogarden)
- Winter sowing
Traditional seed-starting soil with a heat mat
I am somewhat new to using a heat mat, but this worked really well. I should have parsed out the seeds according to their ideal germination requirements as well as according to their ideal timing, but again, back to my lack of perfectionism, who has time to plant seeds at the ideal time all spring long? That is definitely what you should do. I am already paying for it because I am giving plants like cosmos and sunflowers far too much space.
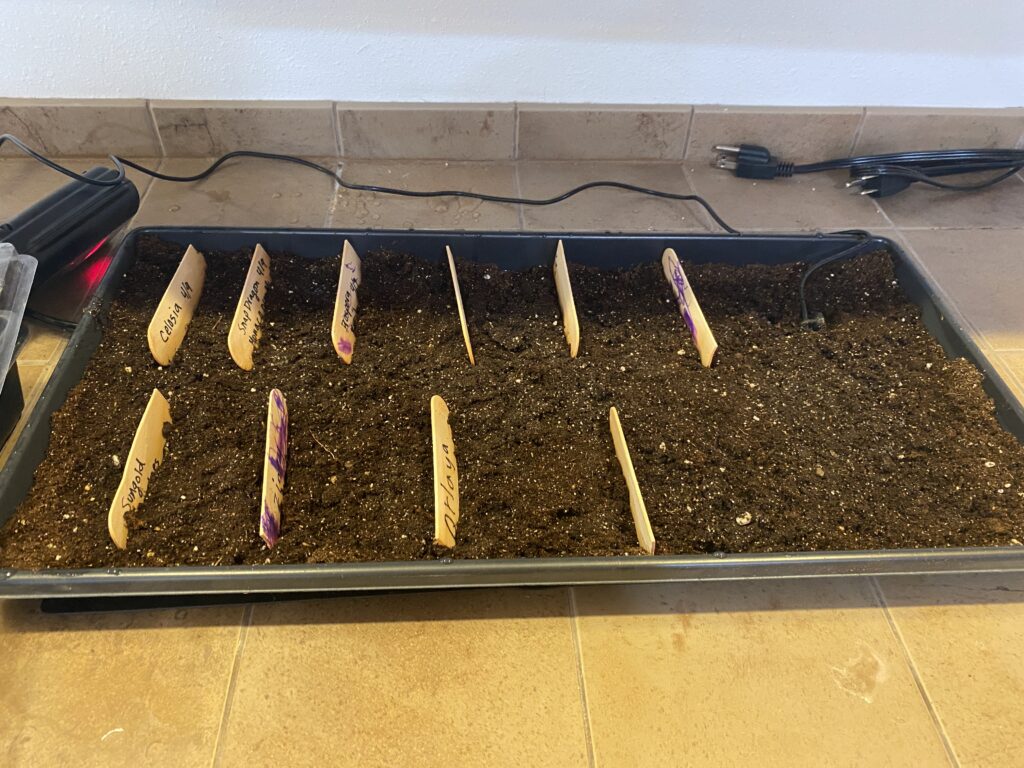
In any case, I put a greenhouse cover over my seedlings and turned the heat mat up to close to 80°F. It was a virtual rainforest in the flat. A few seedlings looked a bit moldy and were germinating so I took off the greenhouse cover. Unfortunately, I did not turn the heat mat off at that point and I should have. In exactly one day when I did not get around to checking on the seedlings, it went from tropical rainforest to desert. I killed a few seedlings, but luckily most of them survived and the mold seemed to disappear.
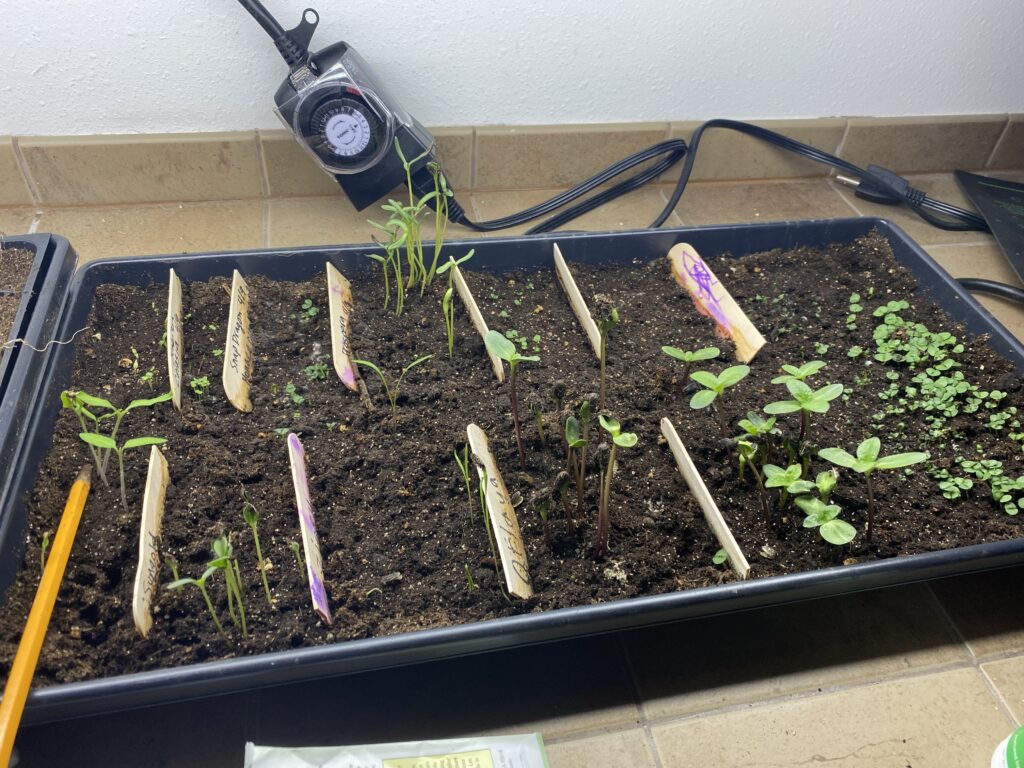
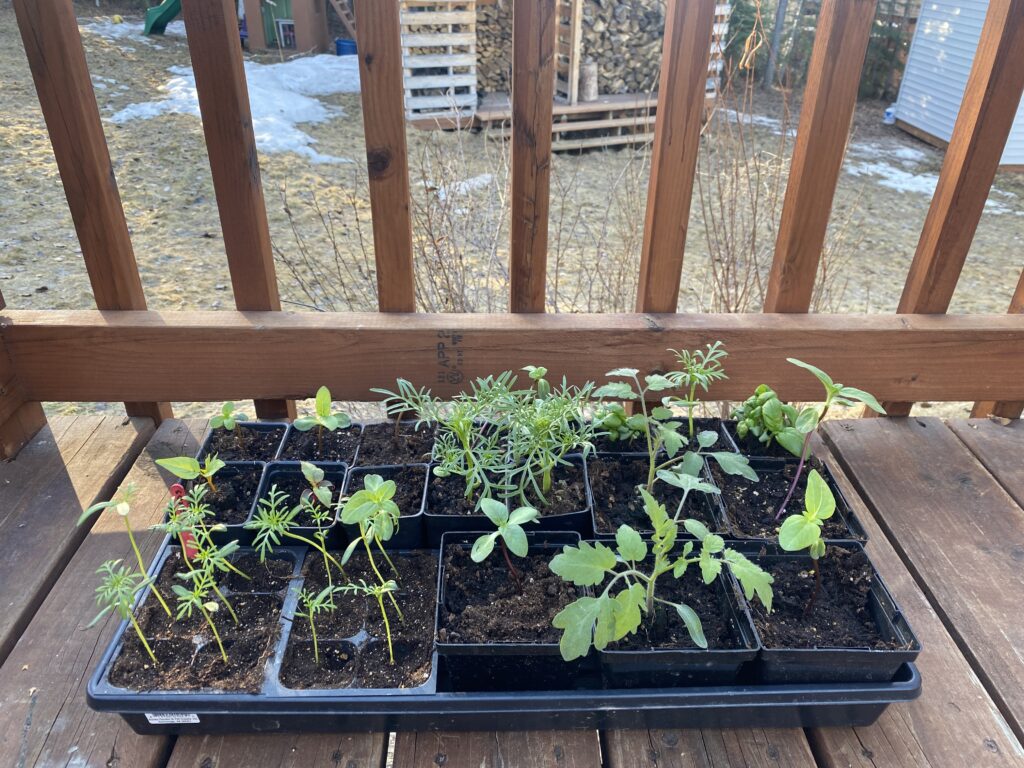
Some of the seedlings needed to be transplanted on April 10th. One of my first jobs as a teenager was transplanting tiny seedlings into six-packs at a greenhouse, so this step was fun and easy for me. On April 21st, I again put some of these seedlings into larger pots. I’ve moved the seedlings to a table next to a sunny, south-facing window.
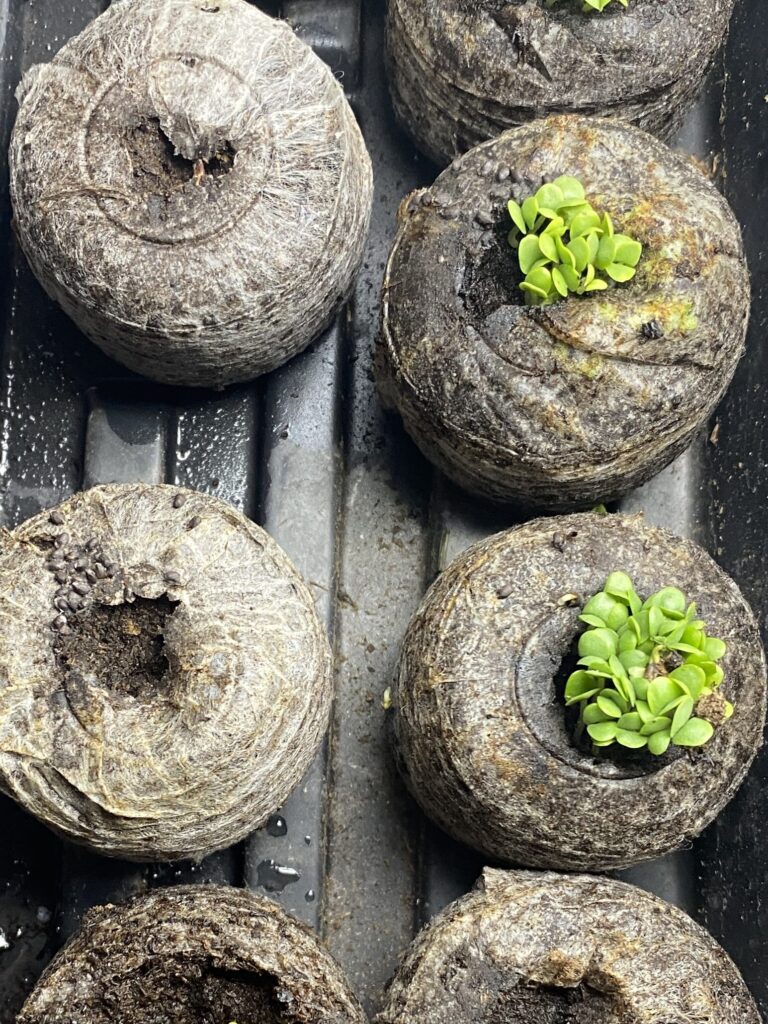
Peat pellets
I planted a bunch of basil in these. I did not put them on a heat mat because I only have one. At first, I thought none of the seeds sprouted, but they were just behind the other seeds I’d planted. One thing I struggle with with peat pellets is that they dry out much more quickly than plastic planting trays. If you were only using peat pellets, you could probably be more in tune with their moisture requirements. The nice thing about peat pellets is that you have one fewer transplant stage. Squash and cucumbers, for instance, prefer not to be transplanted, so you should start them directly in a 4-inch pot. The basil I planted in the peat pellets has done well and although they’re smaller than the other methods, they look healthy!
Hydroponic seed starter
One of the assignments in the Growing a Productive, Sustainable Garden in Alaska class that I teach every spring is to keep a seed-starting and cutting journal. I find the failures in these journals to be most instructive and heartening, as I know I am not the only one struggling with seed-starting. I also get some great ideas for starting seeds from my students.
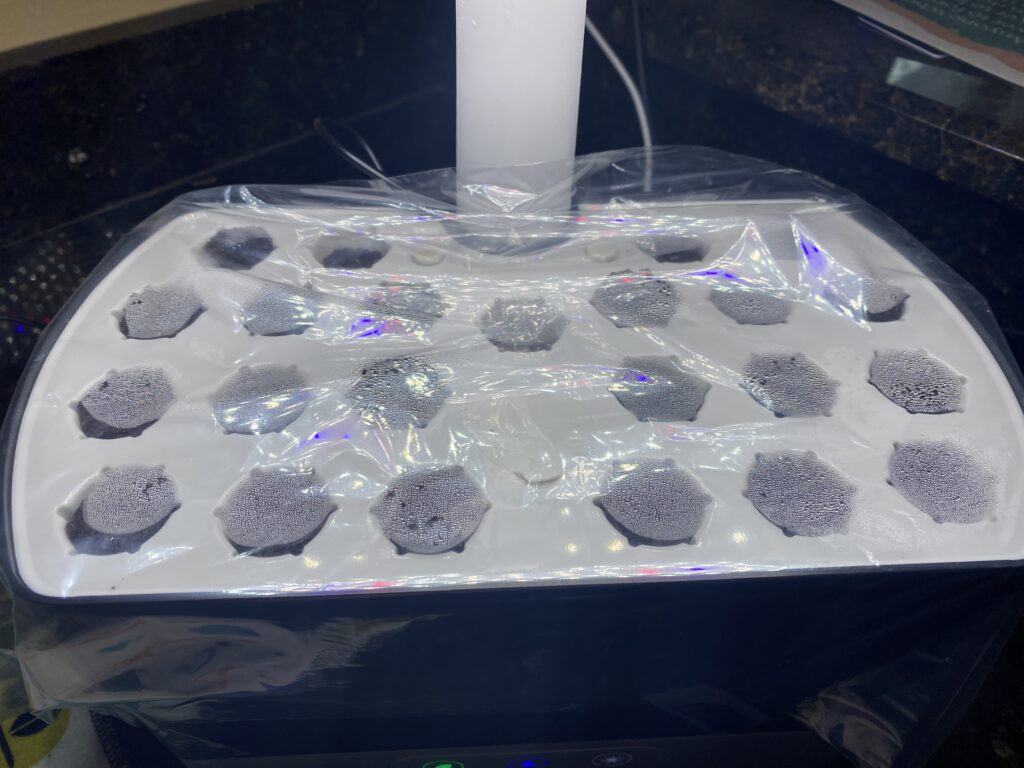
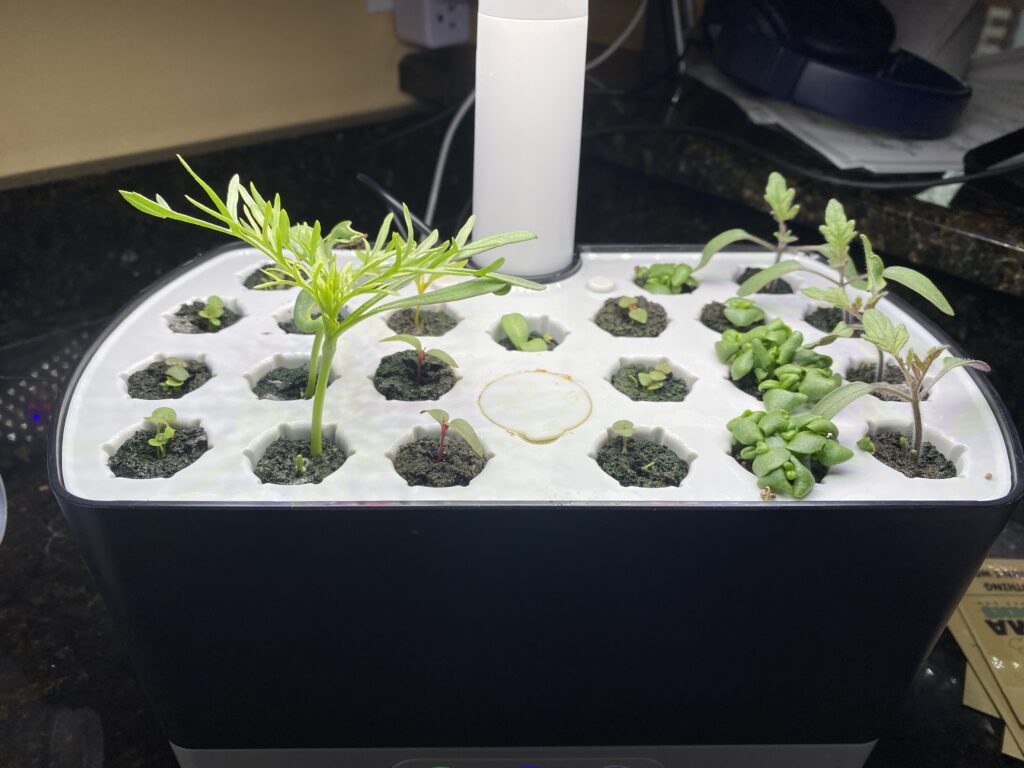
A former Alaska Master Gardener student wrote a blog post about starting seeds in an aerogarden. Partially inspired by his success with this method, I purchased an aerogarden last fall and grew lettuce over the winter. I switched trays on April 3rd to start seedlings.
Instead of only six spots for growing larger plants, the seed starting tray has 23 spots. I have the Harvest model, which is ideal for me because I can put it on my kitchen counter and easily monitor the plants. I enjoy watching the plants and the added light in the winter. This method has worked very well for me and buys me a few days of flexibility where I do not have to worry at all about my seedlings except perhaps filling the water tank if I am gone more than a week. I had nearly 100% germination and these seedlings are the largest of the three indoor methods. They are ahead of all of the other methods. On April 22nd, I transplanted these to six packs, 1-inch pots or 4-inch pots.
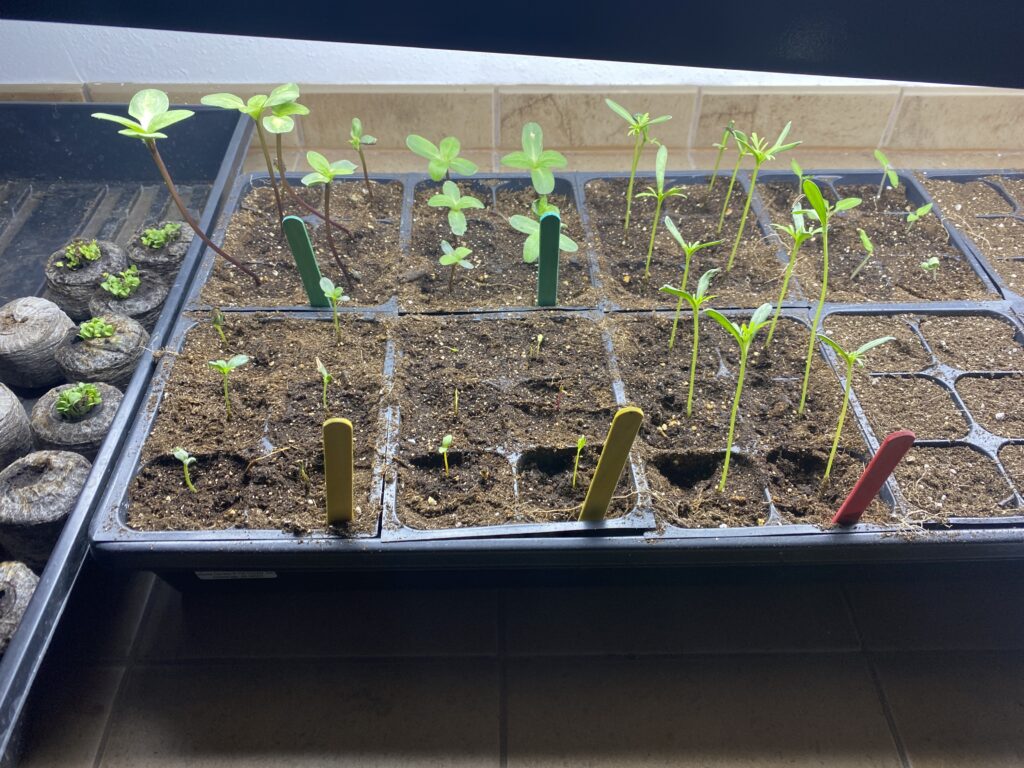
Winter sowing
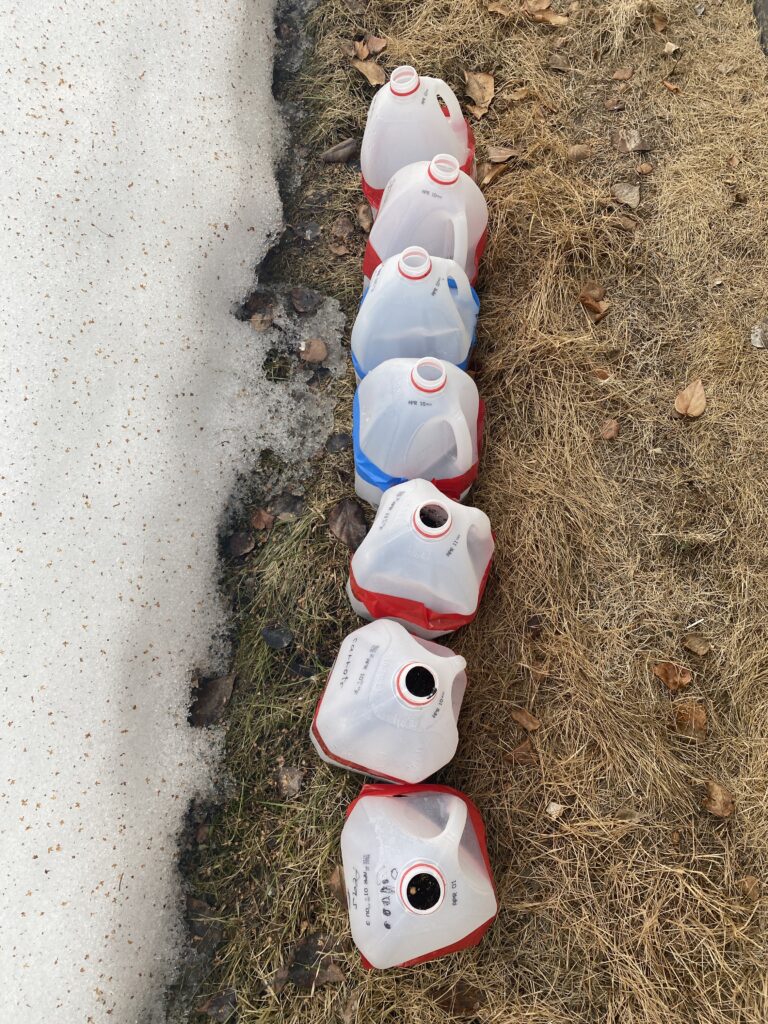
I heard about winter sowing last year from one of my colleagues and was intrigued by it, so I thought I would give it a try. It is supposed to be the easy, breezy way to start hardy seedlings, so of course I was sold on that. I am trying the classic winter sowing method of growing seedlings in milk jugs. By mid-May I only had three of seven milk jugs germinate.
Quick seed starting tips
- Use sterile soil and pots (peat pots are sterile.)
- Use a heat mat to speed germination. Look at seed packets to identify the ideal temperature for germination. Remove it when the seeds germinate!
- Put plastic over germinating seeds, and remove it when about half germinate.
- Place lights 2 to 4 inches above the plants after they germinate. Use a timer so that the lights are on for 12 to 16 hours a day. You can use a sunny window but it’s not quite as effective.
- Fertilize at a quarter strength when the seedlings have their second set of true leaves.
- Use a fan to increase airflow (reduce damping off) and strengthen your seedlings. You can set it on low. Make sure you water the seedlings as needed—they will need more water with a fan blowing on them!
- Don’t forget to harden off your plants. This entails bringing your seedlings outdoors for increasingly longer periods during calm, cloudy, and warm weather. Start at about an hour or two and increase from there. You don’t have to do this with winter-sowed seeds. Make sure temperatures are at least 55°F, it is not overly windy, and it is not intensely hot. Bring them in each night and if the weather is no longer favorable. Last year, it snowed in Fairbanks on June 4th and many people lost their transplants. I also got really tired of taking the seeds in and out. But some people simply open their garage for the day.
- Transplant your seedlings on a cloudy, warm, calm day. Plant your cool-season crops first and be extra cautious with transplanting warm-season crops outdoors like squash or basil. Use frost cloth or old sheets to protect your plants in the case of an unexpected cold snap. To see when the average last frost date is, go to the Alaska Garden Helper. Even if there is no frost forecast, it will help speed up germination for direct-seeded crops.
Try one or more of these methods and find one that works for you—and buying them from your local greenhouse is a tried-and-true method!
For more in-depth seed-starting instructions, consult the University of Alaska Fairbanks Extension’s Seed Starting guide.
Good luck and chances are, you will be a better seed starter than I am.
If you’ve never ever gardened in Alaska before, check out this blog post and video.
Published in the Fairbanks Daily News-miner May 12, 2024.
Fun read – Thanks! I am getting ready to transplant some morning glories, cosmos, nasturtium and forget-me-nots. Hope the transplants make it and have a good season.