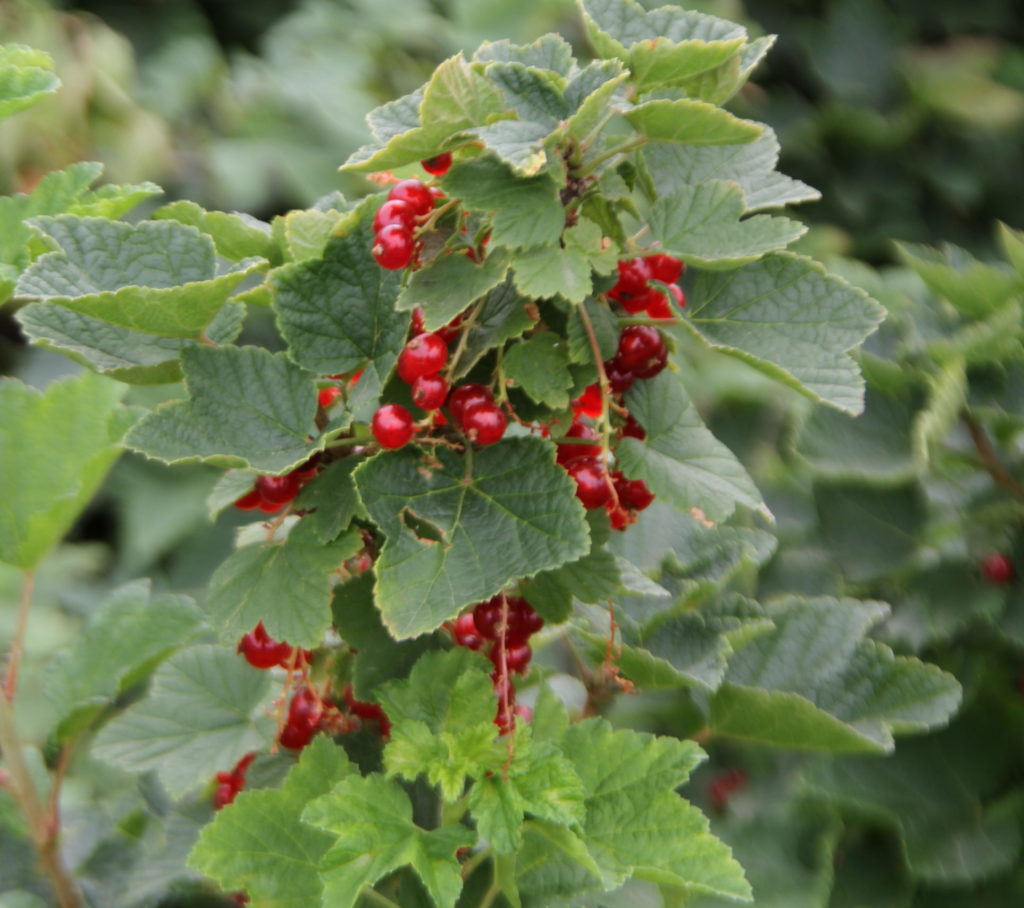
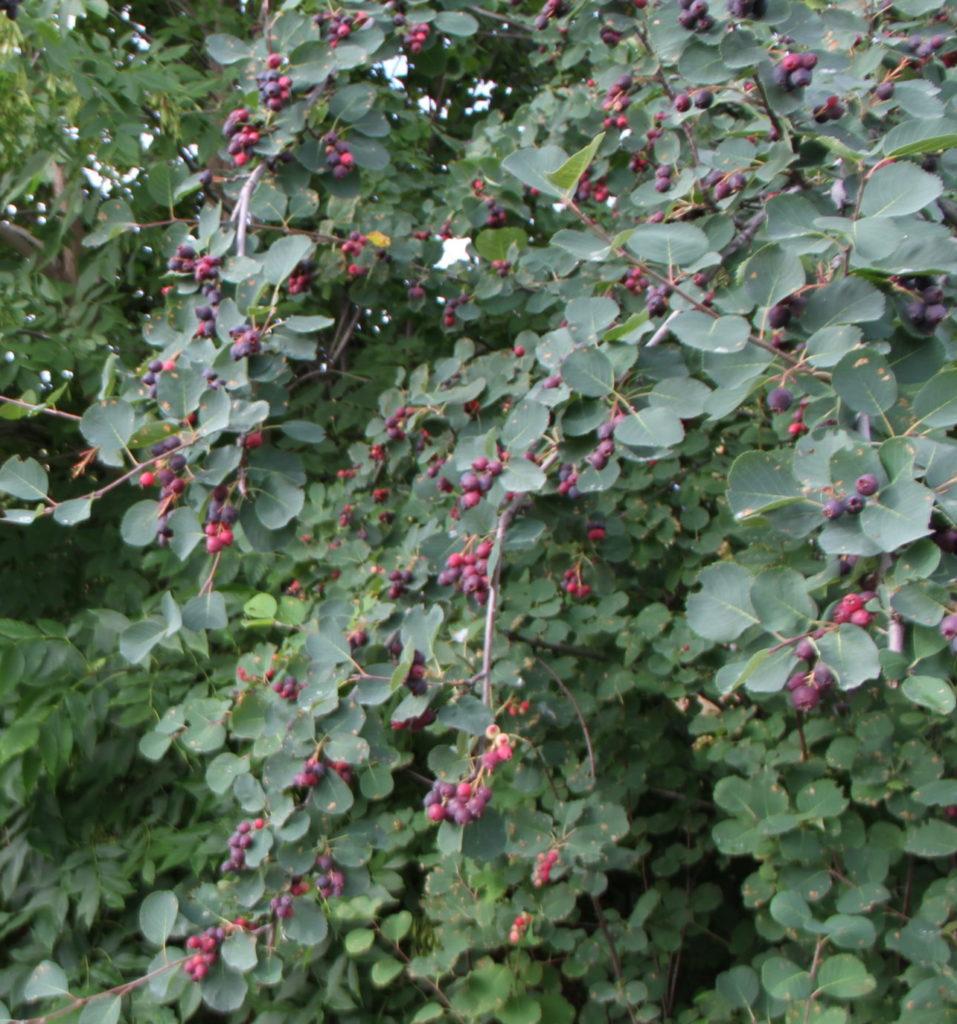
I recently traveled to Bethel, Alaska with Josh Smith (@thefrozenplantguy) and Iva Karoly-Lister with Rural Alaska Community Action Program (RurAL CAP) to collect, learn, and share knowledge about Alaska wild berries.
We arrived in a fierce storm of rain and wind and ventured out to gather any berries we could find—not to freeze or eat them but to collect their seeds. My goal is to learn to propagate—or grow—these wild berries from seed. And I had much to learn from Josh and Iva.
Guided by local berry enthusiast Abby Zito, we searched and found nagoonberries, cloudberries (aqpik in Iñupiaq) and blueberries. I would normally consider myself among the most dedicated berry-pickers, but I soon found I was in the company of the most truly dedicated berry-pickers, when everyone (but me) ventured through thigh-high river water, flooding their rain boots and soaking their socks without a second thought. (I should say, Iva did think things through and decided to keep her socks and boots dry by going barefoot).

After a fairly successful foray to collect berries for seeds, we headed over to the Yupiit Piciryarait Cultural Center for a berry workshop. I spoke about growing and cultivating raspberries, strawberries, currants, haskaps and saskatoons—as well as stewarding wild berries. Josh discussed ways to grow native berries, including from stem cuttings, layering and from seed.
Horticulturalists propagate plants by taking three- to four-inch stem cuttings, coating them with rooting hormones, sticking them in trays with perlite and placing them in special germination chambers to help them grow. Home gardeners may simply plant the cuttings in moist soil in the spring and cover with a plastic tray or plastic bag until they take root. This can take from four to six weeks.
Some berries are easier to propagate than others, although it’s essential to clone them from a stem cutting, if you want to maintain certain cultivars. Other berries propagate naturally when you layer them in soil. Gardeners can facilitate the growing process by covering plants close to the ground with soil or pinning them down to make contact with the soil to promote rooting.
Josh prefers to propagate berries from seed to promote diversity and resilience. He demonstrated how to use a blender to scarify and clean cloudberry, blueberry and nagoonberry seeds. He stressed that he uses propagation methods that work, but he hasn’t systematically tested if each step is absolutely necessary. Once he lands on a successful propagation method, he tends to stick with it rather than experiment with different iterations. He shares two of his propagation methods below. Josh emphasized that others should feel free to experiment and come up with their own methods.

I asked Josh how to grow high bush cranberries. I make high bush cranberry syrup each year and would love to grow the berries in my backyard. I also want to grow them to outcompete the bird vetch and chokecherries, helping to keep these invasive plants from spreading. Josh recommended a “smash and plant” method: harvest the berries just when they’re ripe (not after a frost when they’ve probably entered into dormancy), use a food mill to extract the seeds and then plant. He encourages anyone to try this easy method for native berry propagation.
For detailed instructions on propagation of native berries and many other native plants, consult Jason Downing’s thesis, Native Plant Materials for Economic Development in Southeast Alaska. Research on propagating and growing native berries and plants has been conducted at the University of Alaska Fairbanks Experiment Station over many years, for example, on propagating blueberries and lingonberries from seed. Look under the Topic drop down, “Fruits & Berries.”

How to propagate blueberries (Vaccinium uliginosum), cranberries (V. ovalifolium) and lingonberries (V. vitis-idaea):
Step 1. Harvest fresh, ripe berries.
Step 2. Add 1 part berries and 4 to 5 parts water to a blender. Blend on low for five to eight seconds. Let the mixture settle. The seeds will sink to the bottom and the pulp will float. Once settled, pour about half the water/pulp out. Repeat this step four to five times or until the water is clear and the seeds are clean. Pour off water.
Step 3. Mix the clean seeds with moist peat moss. It should not be excessively wet. After you mix it with moist peat moss, place in a ziplock bag and squeeze out additional water and air and seal.
Step 4. Put the bag in the fridge (33°F to 40°F) for at least 90 days.
Step 5. Spread the seeds mixed with peat in a thin, even layer over a large pot of peat moss.
Step 6. Water and place pot under grow lights. Within 10 to 30 days, you will start to see the first seedlings germinate. Water delicately with very diluted fish emulsion. After a few months, the plants will sprout their first true leaves. Transplant when necessary, and harden off prior to planting outside.
How to propagate cloudberries (Rubus chamaemorus; also known as salmonberries or aqpik):
Step 1. Harvest ripe berries .
Step 2. Place fresh berries in a plastic bag and squeeze out most of the air. Leave in the fridge for three to four weeks. Berries will begin to ferment which helps wear down the outer seed coat or endocarp.
Step 3. Add 1 part berries and 4 to 5 parts water to a blender. Blend on low for three to five seconds. Let the mixture settle. The seeds will sink to the bottom and the pulp will float. Once settled, pour about half the water/pulp out. Repeat this step four to five times or until the water is clear and the seeds are clean. Pour off water.
Step 4. Pour seeds into a cup or bowl of water and soak in clean water for two days at room temperature.
Step 5. Pour off most of the water and mix the clean seeds with moist peat moss. It should not be excessively wet. After you mix it with moist peat moss, place in a ziplock bag and squeeze out additional water and air and seal.
Step 6. Place the bag of seeds and peat moss in a location out of direct sunlight at room temperature for 75 to 90 days. This is warm stratification.
Step 7. Next, place in the crisper drawer of the fridge for at least 90 days. This is cold stratification.
Step 8. Bring the bag out of the fridge and place it at room temperature. Within one to two weeks seeds will start germinating.
Step 10. Extract the germinating seeds from the bag. Return the bag to the fridge for about 30 days. Plant the seedlings into containers of sphagnum peat moss placed under growlights or in a sunny location. Water well.
Transplant as needed and harden off before planting outside.
In addition to propagating and planting native berry plants and other plants, you can also steward existing berry or native plants on your land by not developing the land, selectively cutting brush and competing vegetation, managing or weeding invasive species and pruning berry bushes.

Josh’s love for plants, diversity, and people was inspiring. People and plants are lucky to have Josh as an advocate! You can find Josh Smith online (@thefrozenplantguy) and watch a more in-depth presentation here:
Josh Smith is the owner of Bear Mountain Forestry Nursery, specializing in propagating and selling native plants including berries.