I like yogurt a lot. Not just any yogurt but yogurt that I have cultured. At any given time, I’ve had as many as four yogurt cultures going, plus kefir. They’re all plain and made with whole milk.
Yogurt sales in the U.S. approach nearly $10 billion a year. An aura of health surrounds yogurt, but to attract customers, yogurt companies are continually coming up with enticing new flavors like “coco loco”, “cinnamon roll” or “cookies and cream” that are loaded with sugar and artificial flavors and, in spite of yogurt’s healthy image, are actually closer to ice cream in terms of the sugar load.
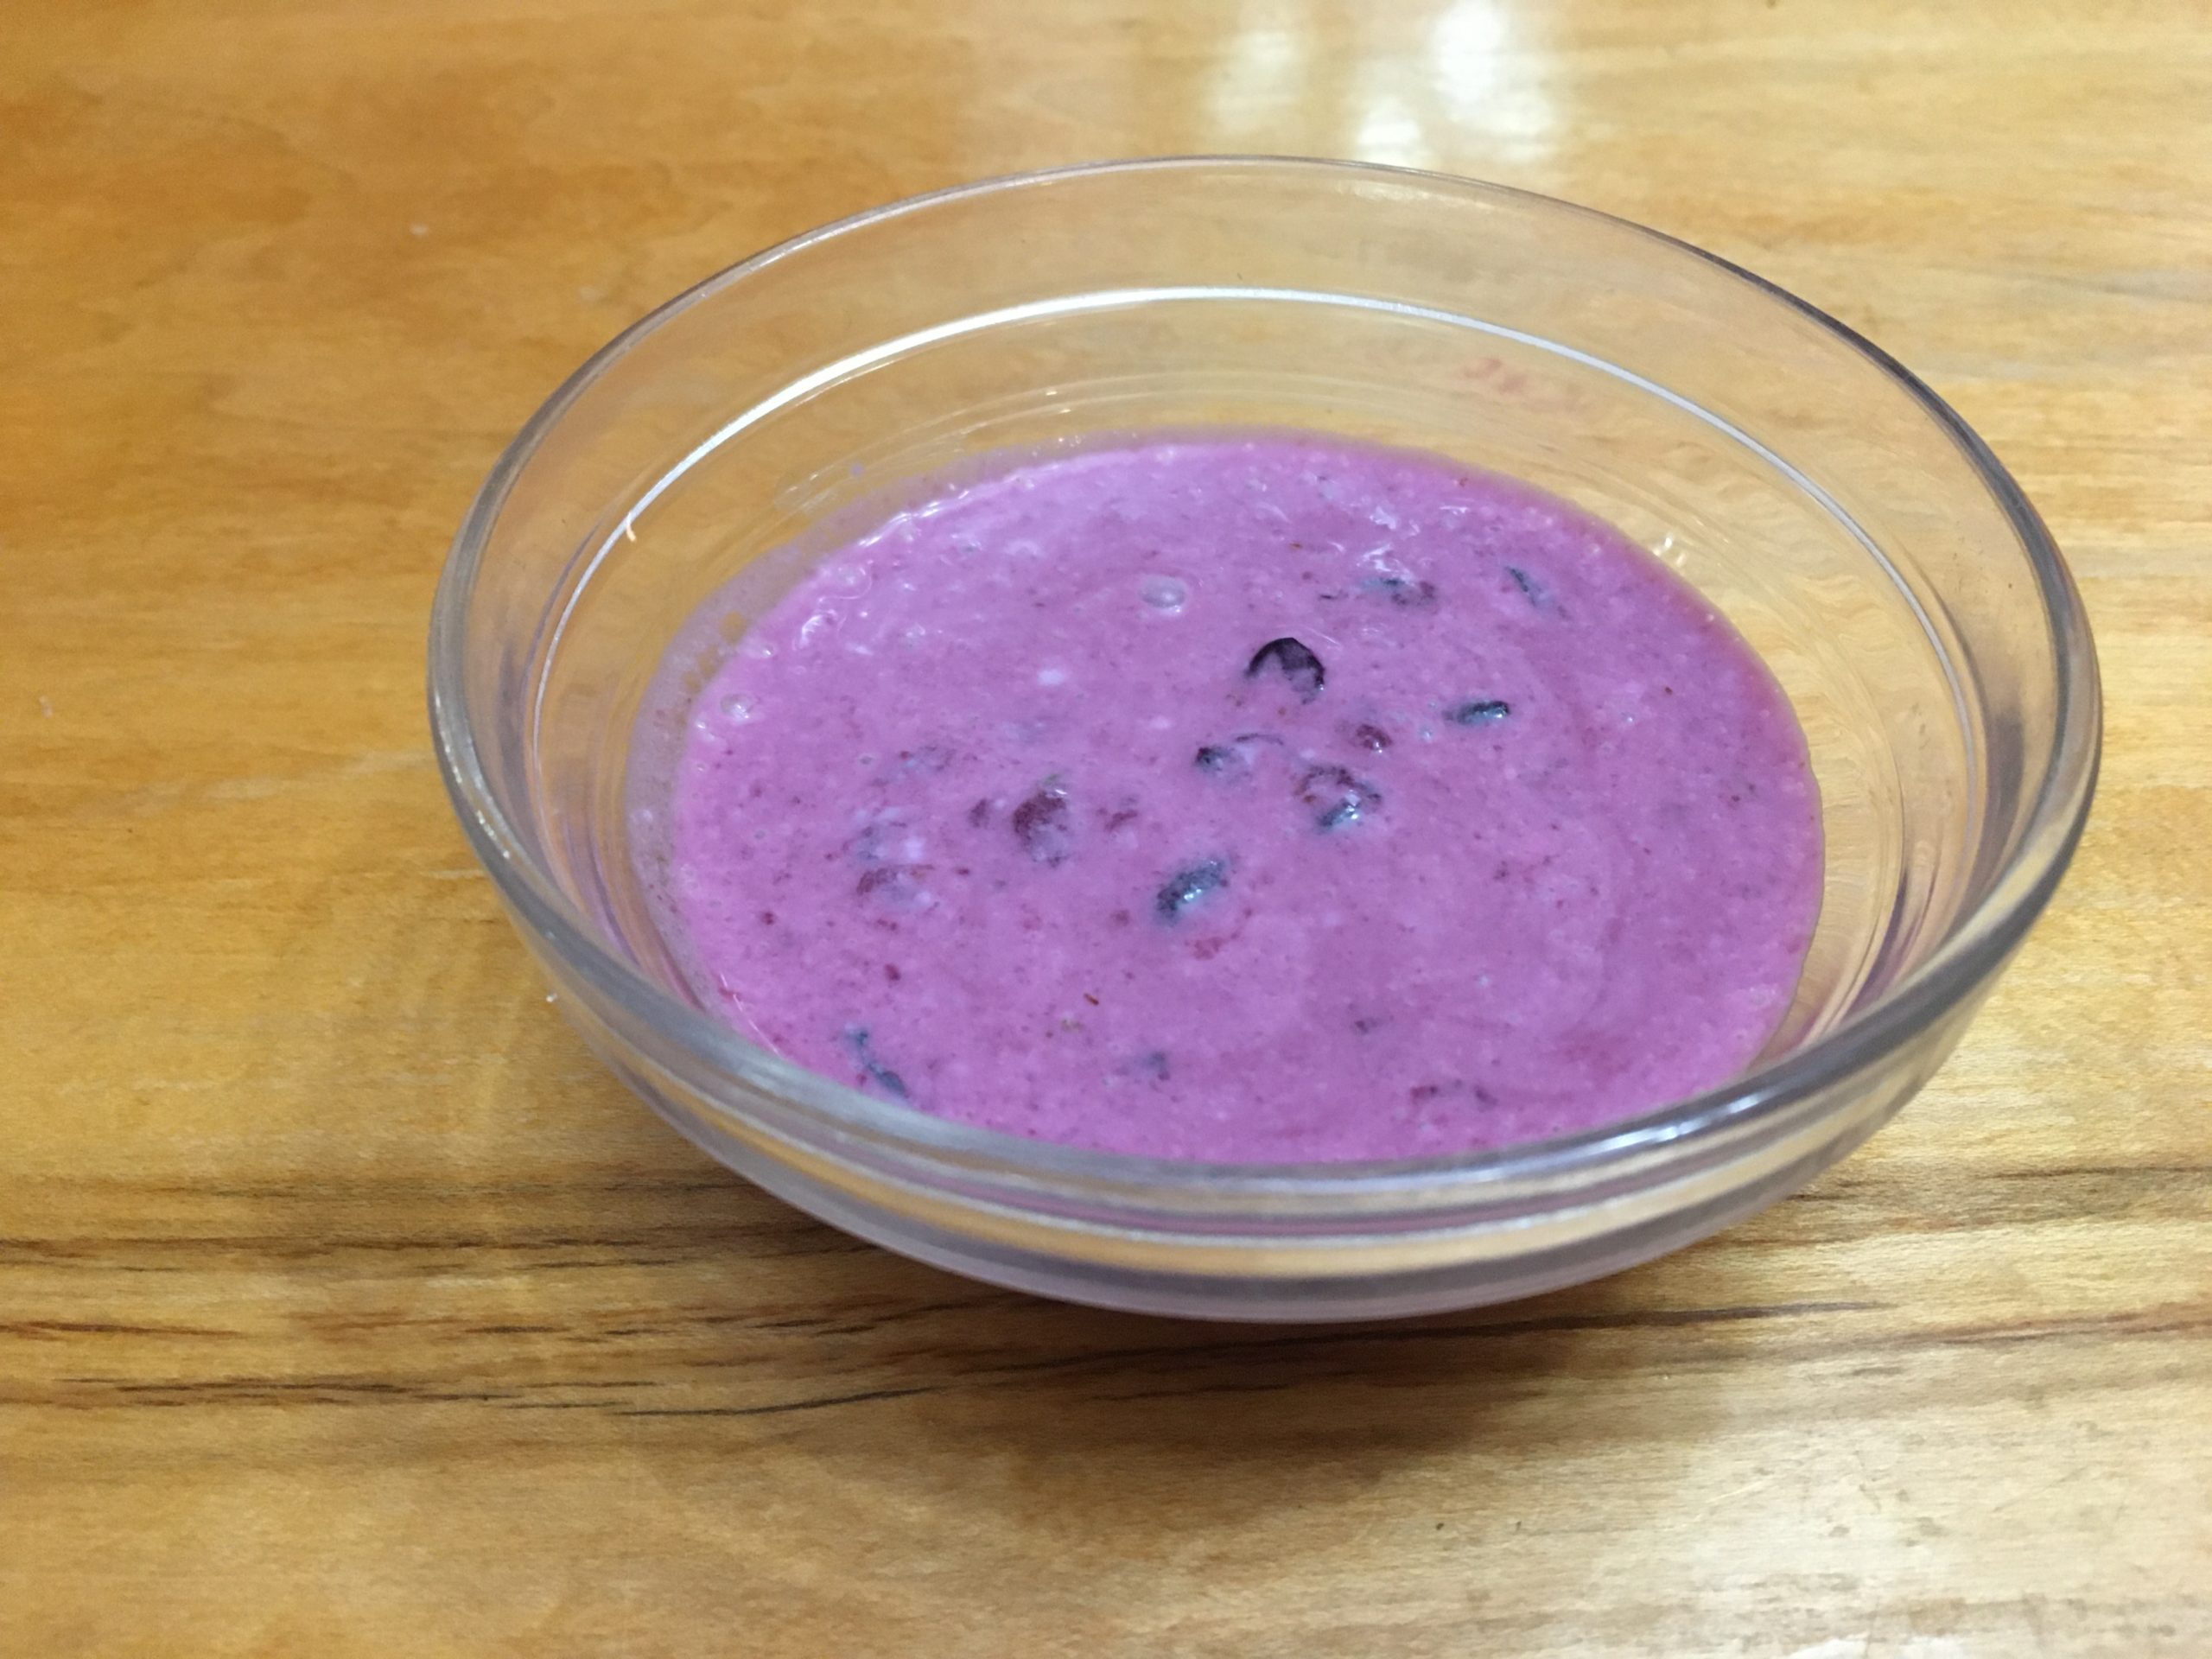
This is tasty blueberry yogurt I made
The best-kept secret is how easy it is to make your own yogurt. It does take time to make but not a lot of hands-on time. Instead of adding sugar and artificial flavors, simply varying the inoculation culture, fermentation time, and type of milk or cream produces yogurt with noticeably different tastes and textures. For example, I usually ferment my yogurt for 24 hours. Store-bought yogurt might be fermented for as little as eight hours. The extra fermentation time results in extra sour yogurt, which I love. Those who usually avoid lactose might find that yogurt fermented longer is more easily digested
Another reason to make your own yogurt? To save money. Here are some back-of-the-envelope calculations I made comparing the cost savings of yogurt made at home compared with buying it at the store.
| Size of Yogurt Container | Yogurt made at home with 1 gallon of $3 milk | Yogurt made at home with 1 gallon of $6 organic milk | Less expensive store-bought yogurt | More expensive store-bought yogurt |
| 6 oz. single serve | 14 cents | 28 cents | 70 cents | $2 |
| Quart sized | 75 cents | $1.50 | $3.60 | $5 |
I should note that when you make unstrained yogurt, not much volume is lost, but making Greek yogurt, which requires that you strain the yogurt from the whey, does result in loss of volume, and that would influence these numbers. In addition to the cost benefits, making your own yogurt generates less plastic waste especially compared with single-serve yogurt.
So how do you actually make yogurt?
First, you need to understand a little bit about yogurt cultures. Heirloom cultures can be used repeatedly simply by saving a little yogurt from one batch and using it to make a new batch. This must be done fairly regularly to maintain the culture. But some cultures are sold for single-use. These cultures can’t be reused because they’re less diverse and stable. Commercially made yogurt is usually made with single-use cultures because they are more predictable. I only use heirloom cultures. You can buy these online or at health food stores.
Another difference between yogurt cultures is the temperature at which they must be cultured – thermophilic cultures must be fermented at about 110-115 degrees F while mesophilic cultures can be fermented at room temperature. My favorite culture is Bulgarian and is thermophilic. I also use several mesophilic cultures that can simply be cultured at room temperature. These include Filmjölk, Viili, and Matsoni.
To make yogurt with a thermophilic culture, you could use a yogurt maker, an instant pot or simply a pre-heated cooler. If you use a cooler warmed with hot water, monitor it with a digital thermometer. Here’s how to make it (all temperatures are in Fahrenheit):
- Heat the milk to 180 degrees
- Cool the milk down to 110-115 degrees. Once cooled, mix in 1 tablespoon of culture per quart of milk.
- Keep the milk at 110-115 degrees for at least eight hours and up to 24 hours.
Mesophilic yogurt is much easier to make. Simply save about one or two tablespoons of the previous batch of yogurt and add it to more cream, milk or a combination of the two. Ferment at room temperature and in about a day or so it will be finished. One of the things I use the mesophilic cultures for is making crème fraîche. This works well because it wouldn’t make sense for me to make a whole gallon of crème fraîche, which is the capacity of my instant pot and it would take a lot more effort to use a thermophilic culture for a small amount of crème fraîche. Instead, I make small batches in pint jars.
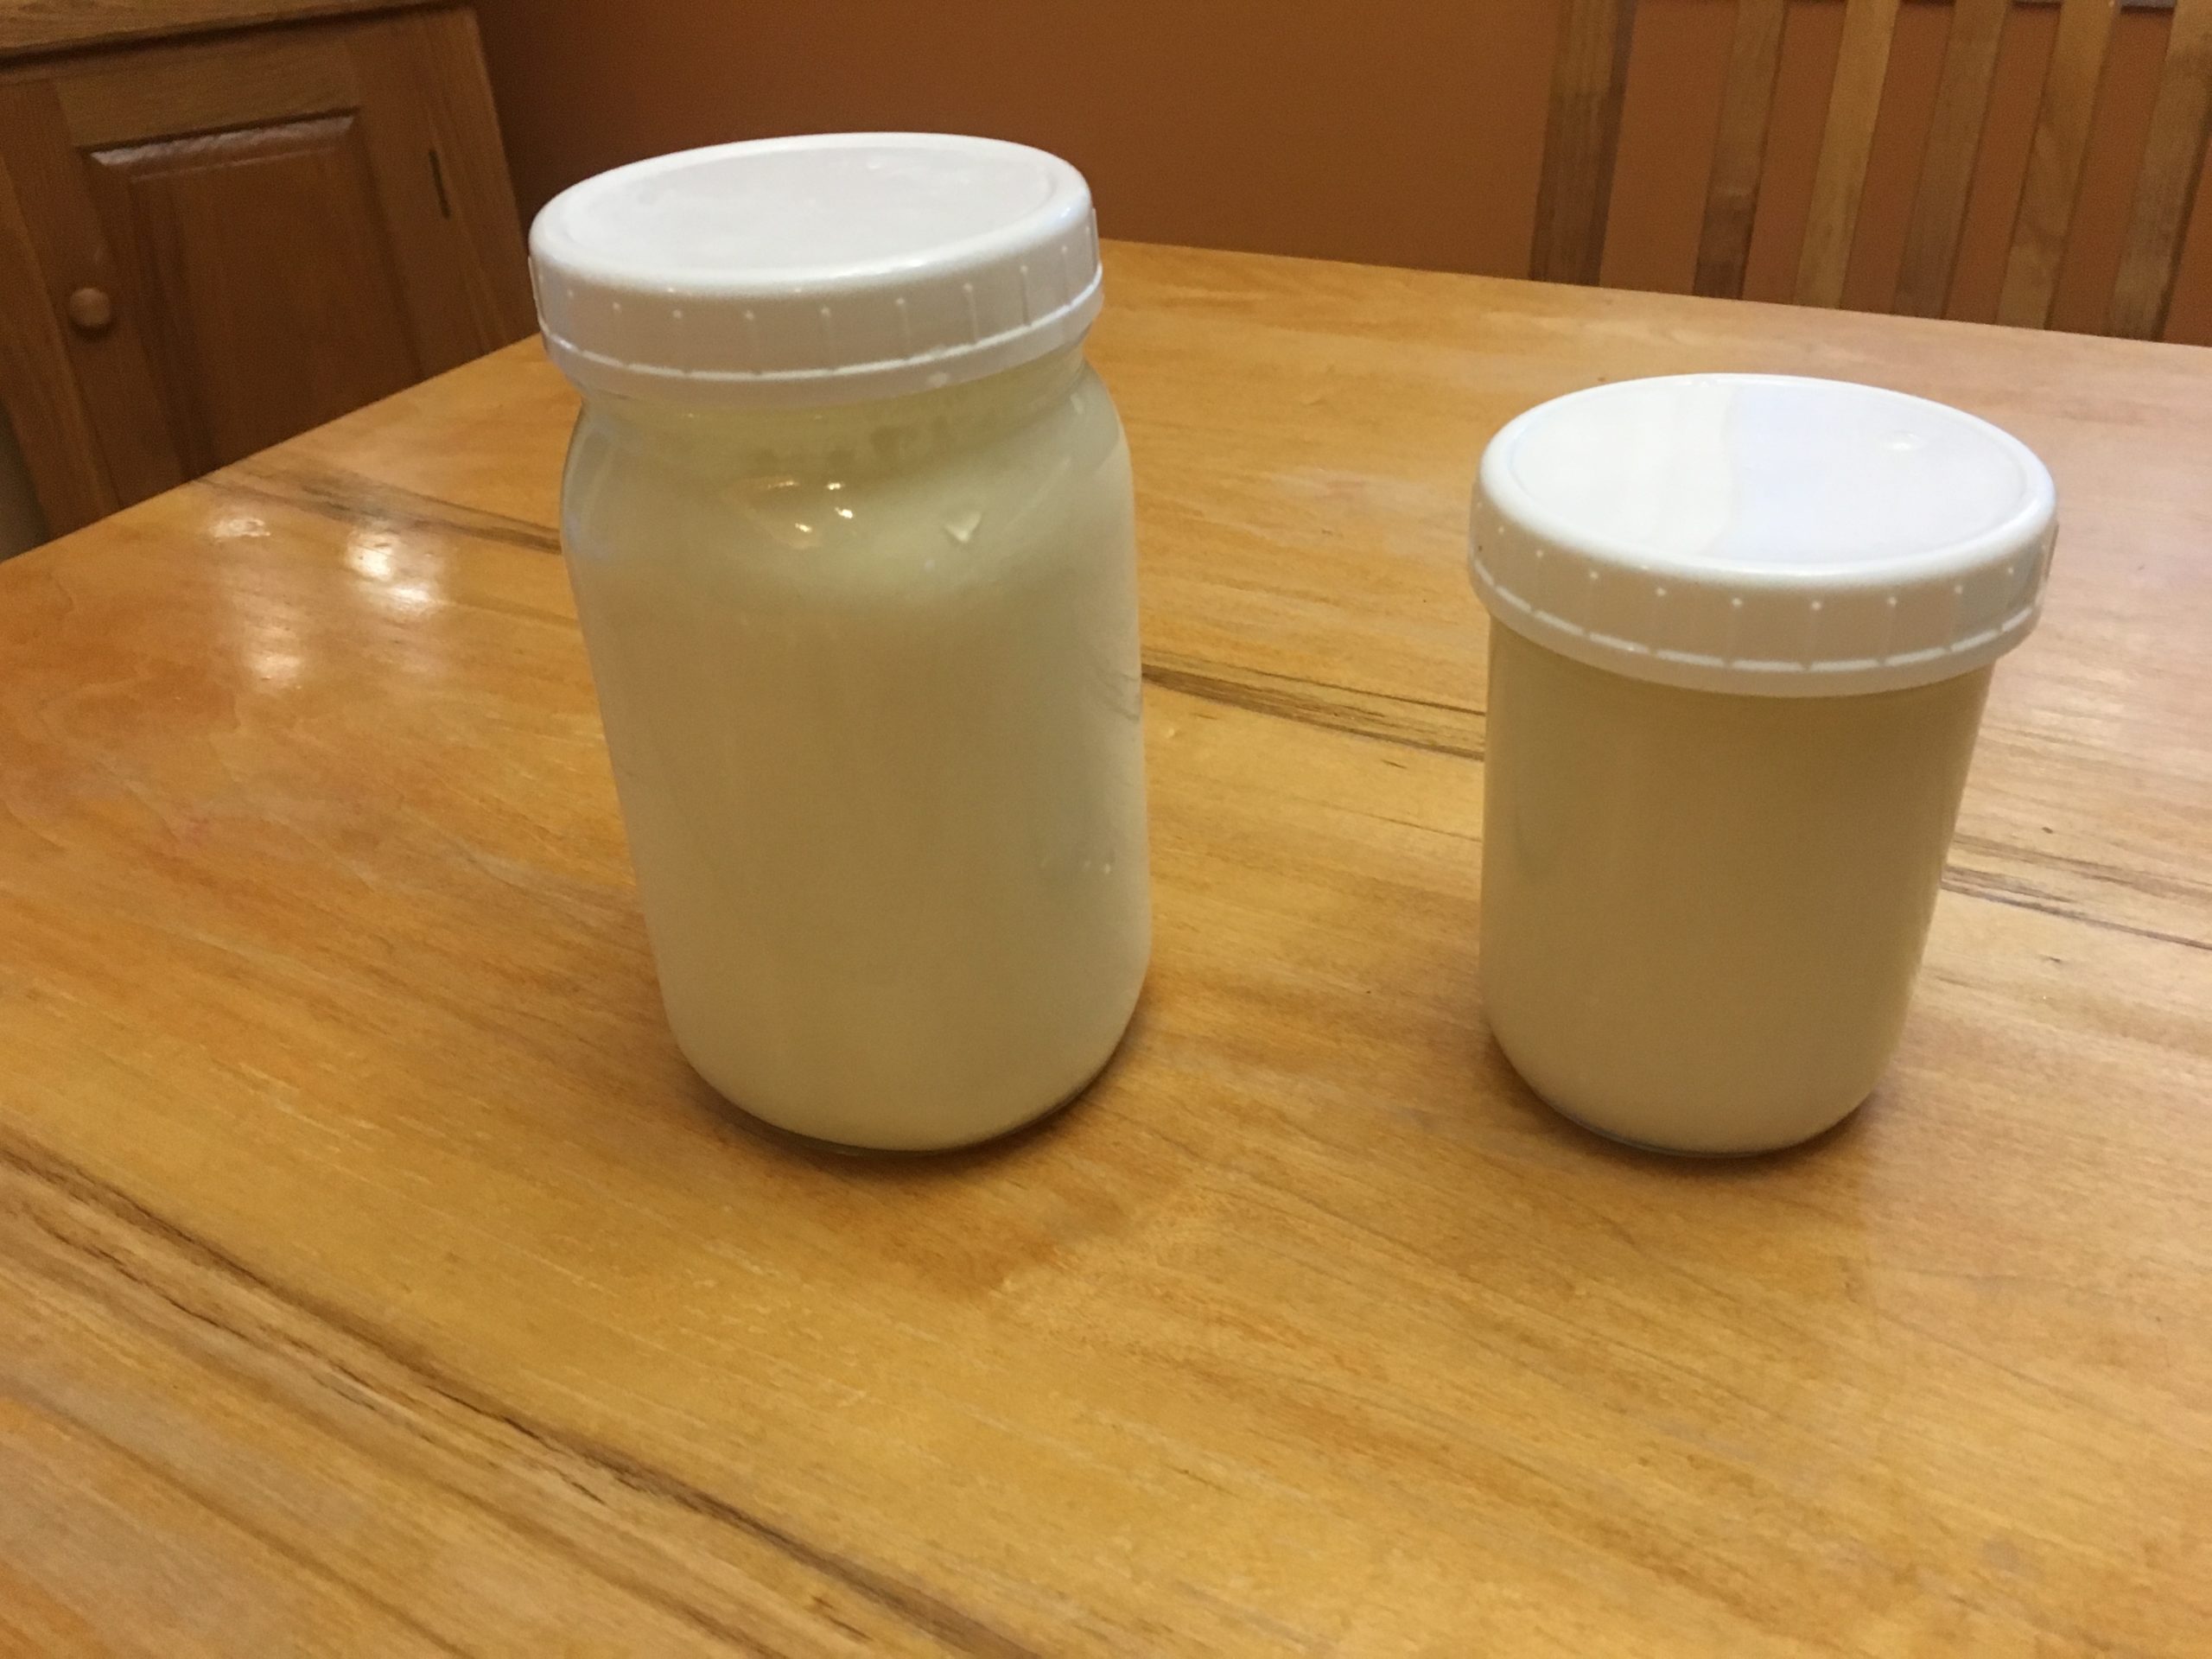
I usually make smaller batches of creme fraiche, a naturally thickened cream that provides a tart, buttery flavor.
Kefir is also fermented at room temperatures, but kefir grains are added to inoculate the yogurt instead of simply a couple of tablespoons of kefir. Add one tablespoon of kefir grains to one quart of milk and let ferment until thickened. This usually takes at least 24 hours for my kefir. The grains are colonies of bacteria and yeast that continue to grow and multiply when you make kefir. If you let kefir ferment too long, your kefir might become a little bit alcoholic and fizzy because of the yeast. Single-use cultures are sold for making kefir, so, if you can, find the kefir grains if you want to make multiple batches of kefir.
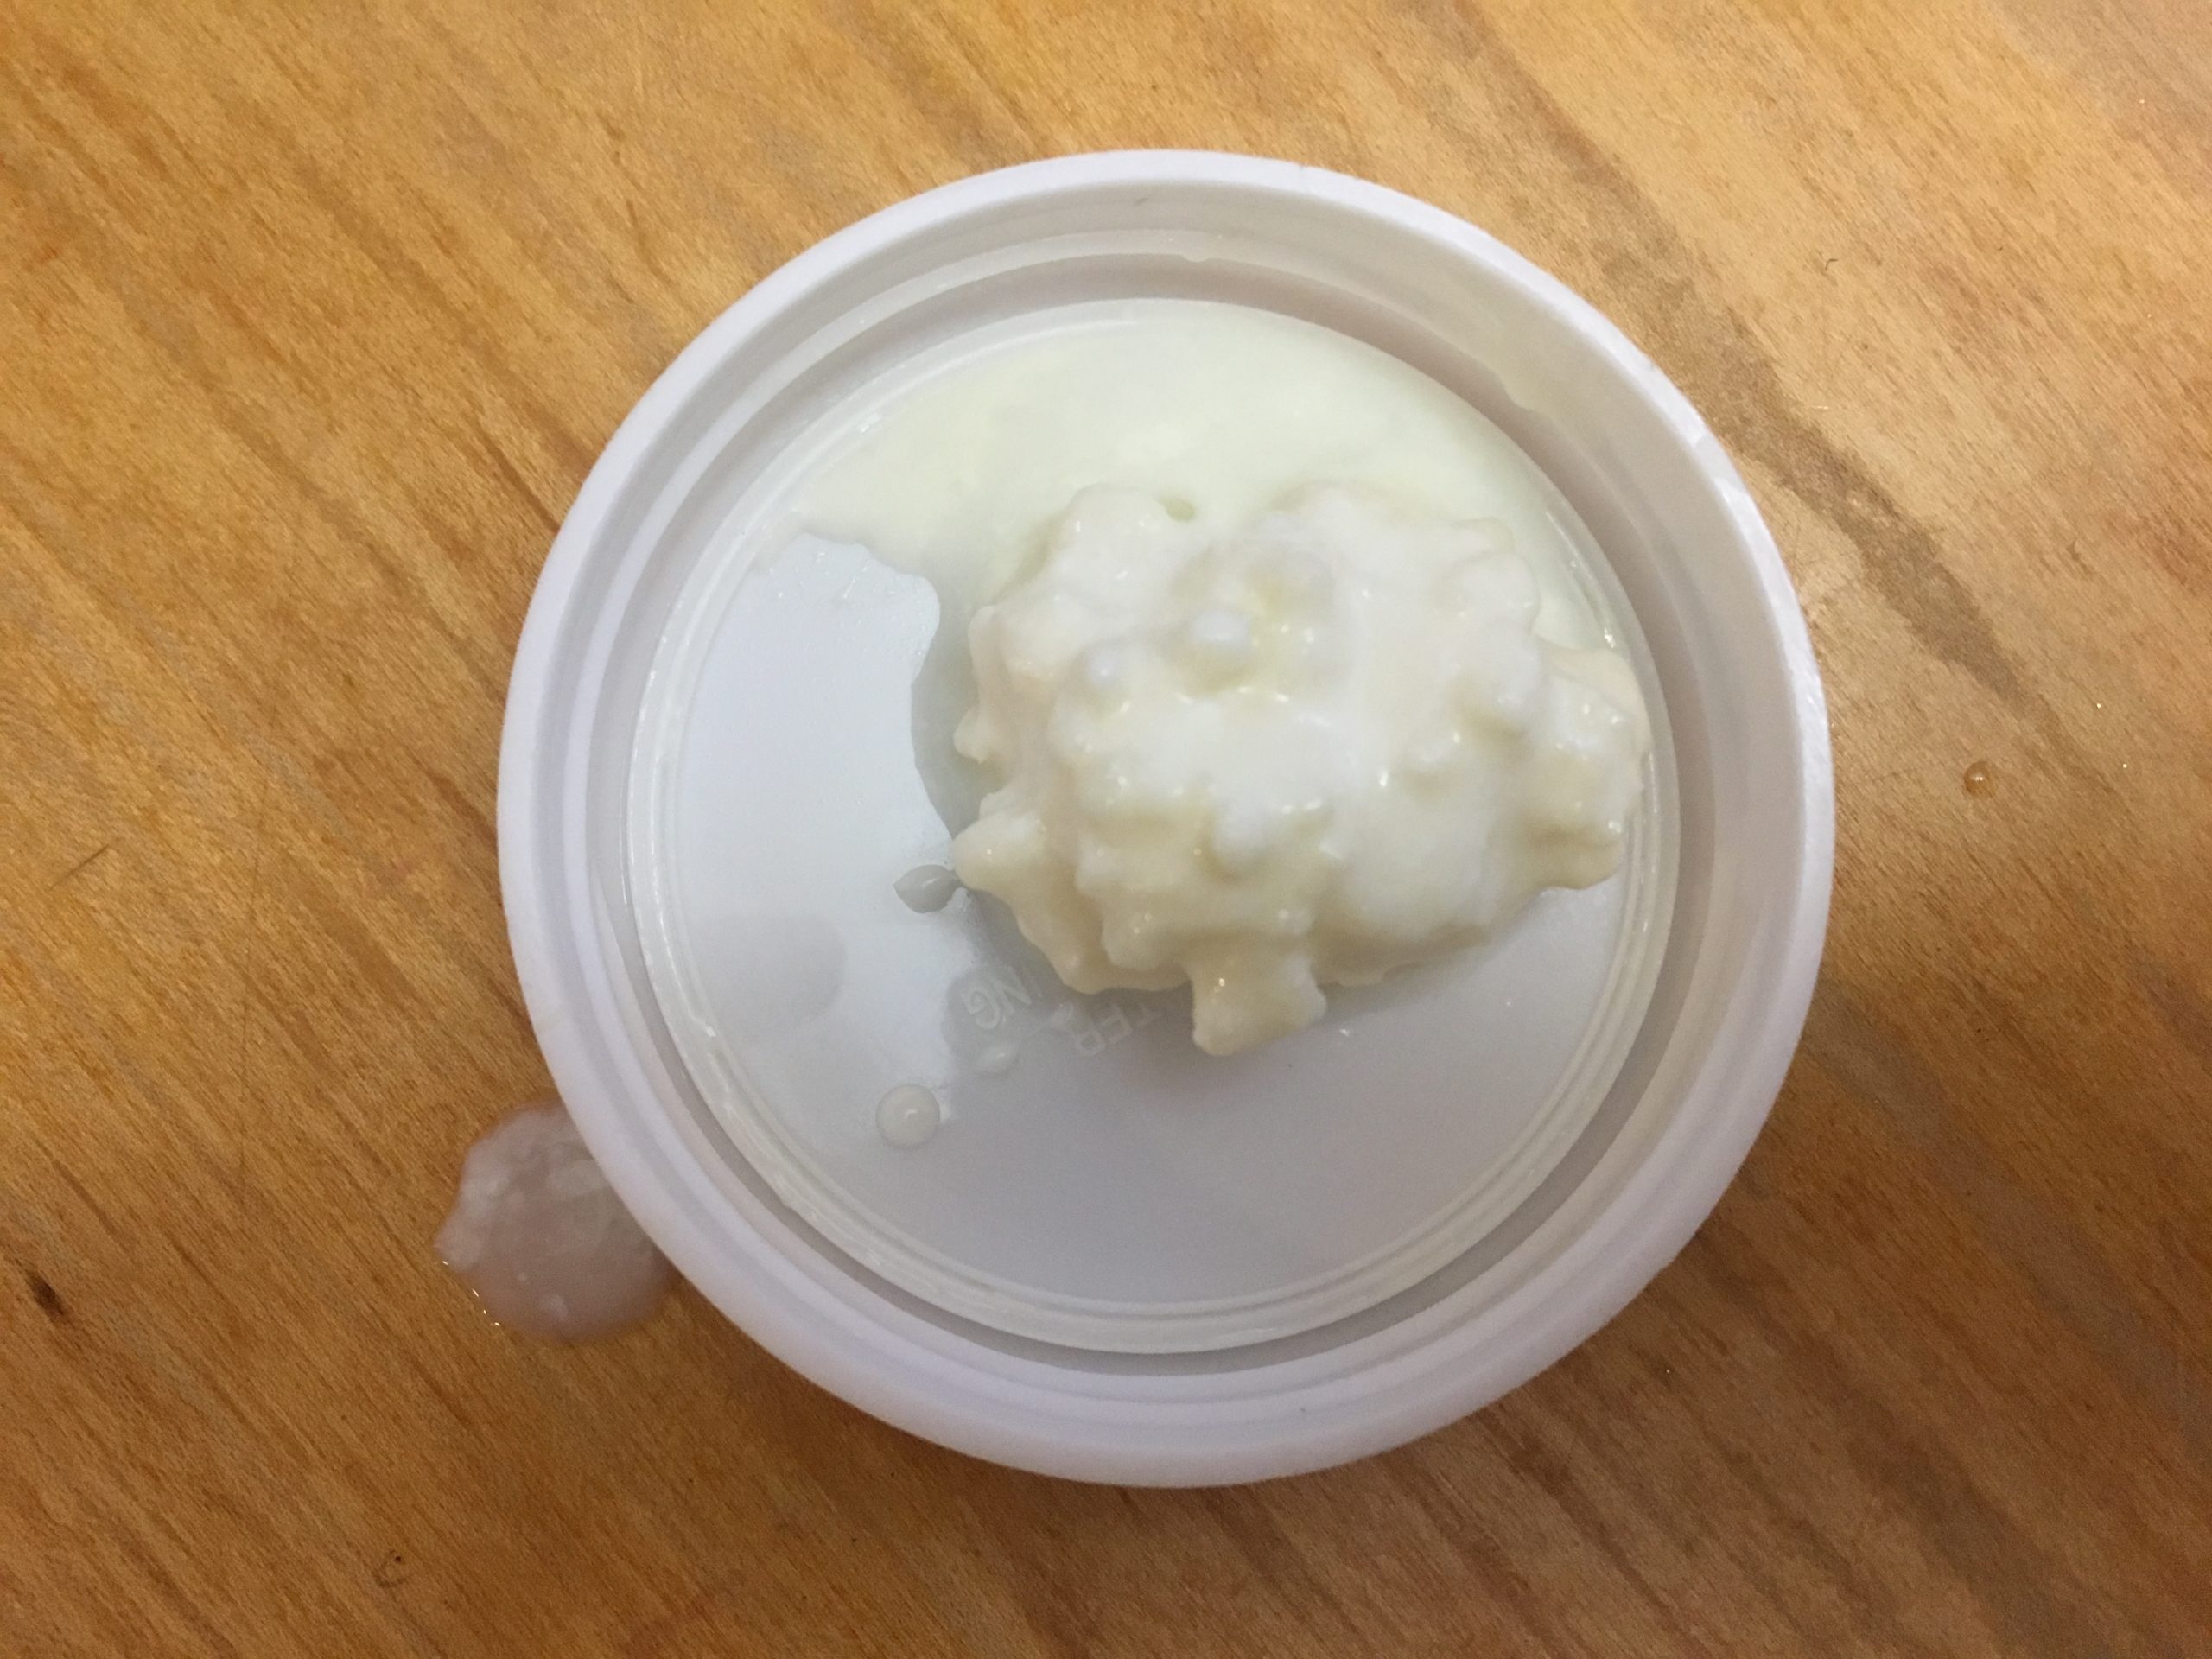
Kefir is thinner than yogurt but has a similar creamy-but-tart taste. It is fermented at room temperature.
If you want to make thick, nonfat yogurt, try making Greek yogurt or add a thickener like powdered milk, gelatin, pectin or tapioca starch. Be aware that thickeners may limit your ability to reuse your culture. Heavy whipping cream can also be used to thicken yogurt.
Making your own yogurt is easy, tasty, healthy and will save you money so give it a try!
For additional instructions, check out UAF Extension’s publication on making yogurt at home.
Previously published in the Fairbanks Daily News-Miner October 27, 2019.